How to Make Wedding Invitations?
Hello lovebirds! Ready to make your wedding invitations? Let’s dive in…
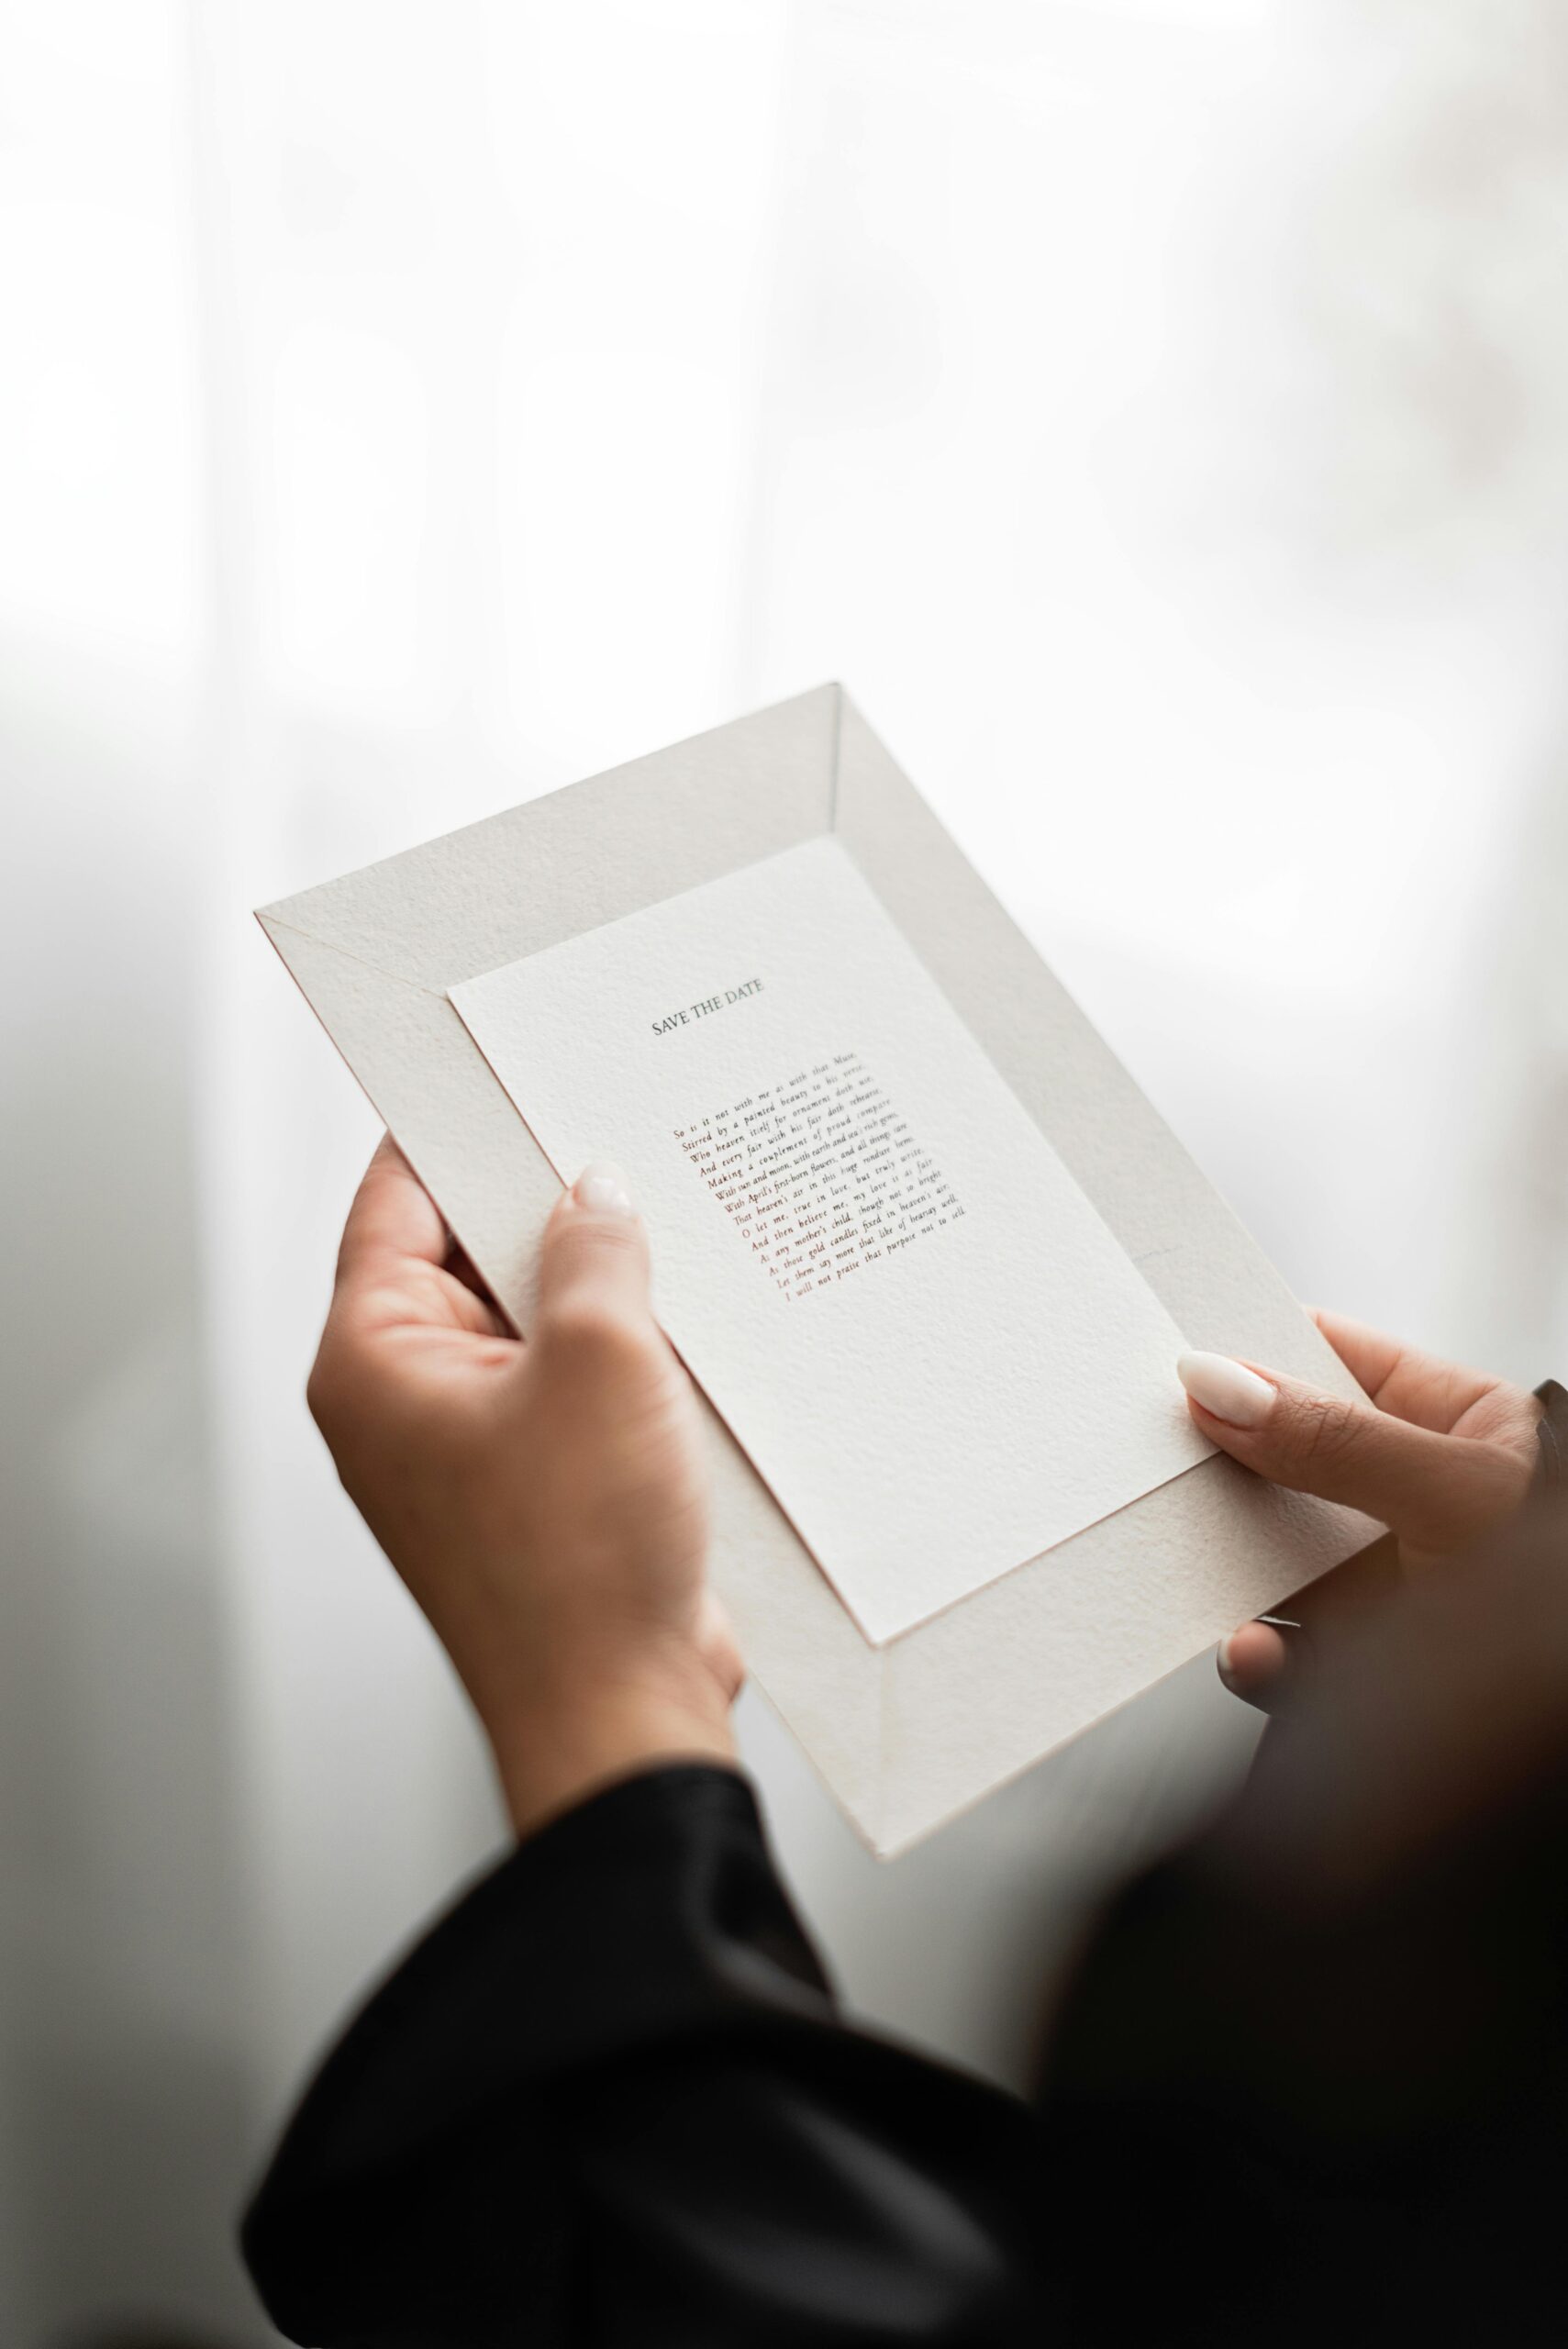
We had so much fun designing out DIY wedding invitations, and we actually found it SUPER important to get right. the invitations are one of the first glimpses your guests will get of your special day. They set the tone, style, and formality of your wedding, making them a crucial element in your planning process.
In this guide, we’ll walk you through everything you need to know about how to make wedding invitations—from selecting the perfect design to choosing the best materials. Whether you’re a DIY enthusiast or looking for budget-friendly options, we’ve got you covered.
What Size Should Wedding Invitations Be?
Choosing the right size for your wedding invitations is more than just a practical consideration; it’s also about presentation. Standard sizes typically range from 4.5″ x 6.25″ to 5″ x 7″, but your choice may depend on your design and budget. Smaller sizes can be cost-effective, while larger invitations can make a grand statement. It’s important to consider how the size will impact your overall design and postage costs.
How Much Do Wedding Invitations Cost?
Wedding invitations can vary widely in cost, depending on factors like paper quality, printing methods, and quantity. On average, couples spend between:
- United Kingdom: £100 – £500
- United States: $130 – $650
- Europe: €115 – €575
- Canada: $175 – $875
- Australia: $190 – $950
How To Save Money on Wedding Invitations?
For our wedding invitations we managed to save a lot of money by designing them ourselves and printing through Canva.com. For those looking to save a bit of cash, we recommend this design and printing tool very highly – we ended up spending £125 on all of our wedding invites to be printed for 140 guests!
How To Design Your Own Wedding Invitations?
Designing your wedding invitations is an opportunity to let your creativity shine. Follow these detailed steps to create beautiful and personal wedding invitations that reflect your unique style.
Step 1: Choose a Theme
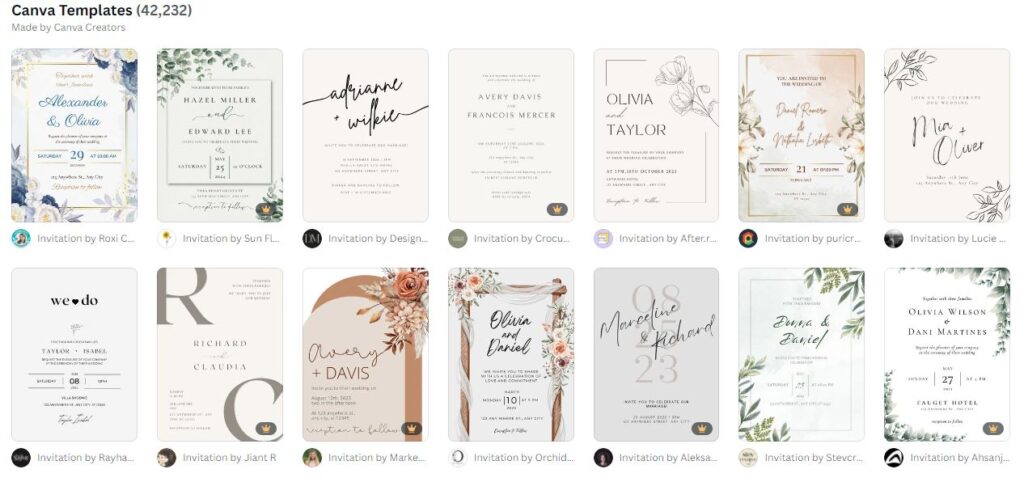
Start by selecting a theme that matches your wedding style. This could be rustic, modern, vintage, or something entirely unique to you. Your theme will guide all your design choices, from colors to fonts.
Step 2: Select Your Colors
Pick a color palette that complements your wedding theme. Consider using your wedding colors to create a cohesive look. Use online color palette generators for inspiration and ensure your colors are print-friendly.
Step 3: Choose Your Fonts
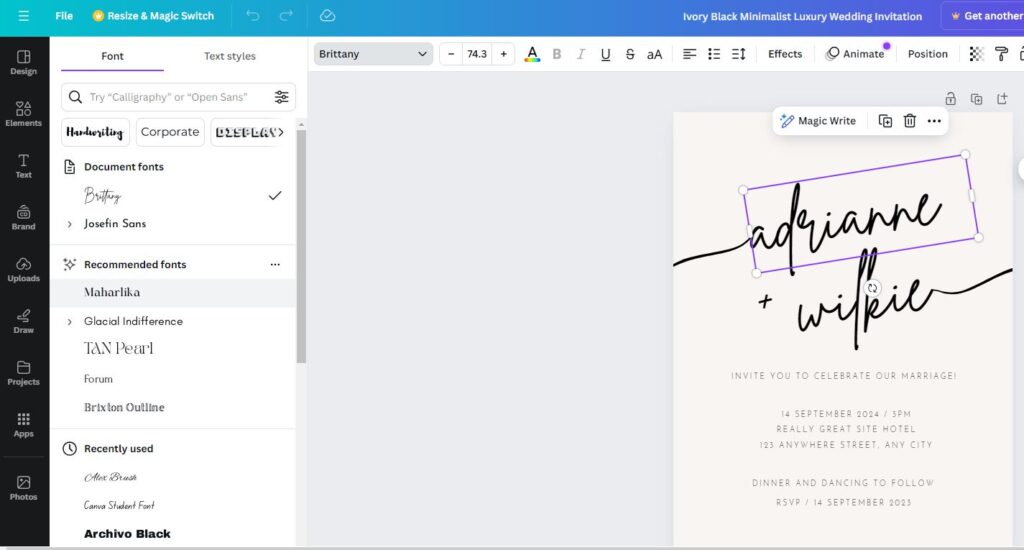
Select fonts that match your theme. A formal wedding might use elegant script fonts, while a casual wedding could use playful, informal fonts. Limit your choices to two or three fonts to keep the design clean and readable.
Step 4: Gather Your Information
Make a list of all the details you need to include. Below we have added a quickfire list, but you can read our more in-depth guide on wedding invite etiquette, including when to send out wedding invites.
- Names of the couple
- Date and time of the ceremony
- Venue address
- RSVP instructions
- Additional information like dress code or directions
Step 5: Sketch Your Layout
Before diving into digital design, sketch out a rough layout of your invitation. Decide where each piece of information will go and how much space it will take up. This helps visualize the final product.
Step 6: Create a Digital Template
Use design software like Canva, Adobe Spark, or Microsoft Publisher to create a digital template. Input your chosen colors, fonts, and layout. Most of these tools offer pre-made templates that you can customize to fit your needs.
Step 7: Add Personal Touches
Incorporate personal elements such as a monogram, custom illustration, or a favorite quote. These details make your invitations unique and special.
Step 8: Proofread and Review
Carefully proofread all the text on your invitation. Check for any spelling errors, incorrect dates, or missing information. It might help to have a friend or family member review it as well.
Step 9: Print a Sample
Print a sample of your invitation to check the colors, fonts, and overall design. Make sure everything looks as expected on paper, and that the text is easy to read.
Step 10: Finalize and Print
Once you’re satisfied with your sample, finalize your design. Decide whether you will print them at home, at a local print shop, or use an online printing service. Order enough prints to cover all your guests, plus a few extras for keepsakes.
Step 11: Assemble and Send
If your invitations include multiple pieces (like RSVP cards or maps), assemble them together. Use envelopes that match your invitation size and style. Finally, address and send your invitations well in advance of your wedding date.
Following these steps ensures you’ll design wedding invitations that not only look professional but also carry a personal touch that reflects your love story. Happy designing!
What GSM For Wedding Invitations?
The quality of your wedding invitations largely depends on the paper you choose. GSM (grams per square meter) measures the weight and thickness of the paper. For wedding invitations, a GSM of 250-300 is ideal, offering a luxurious feel without being too heavy. Different textures and finishes can also enhance the overall look and feel of your invitations.
How To Create a QR Code For Your Wedding Invitations?
Creating a QR code for your wedding invitations is a smart and modern way to simplify RSVPs and provide guests with additional information. Here’s a step-by-step guide to help you incorporate this technology into your invites.
Step 1: Choose a QR Code Generator
There are numerous free QR code generators available online, most of them have a free option, here is a quick list:
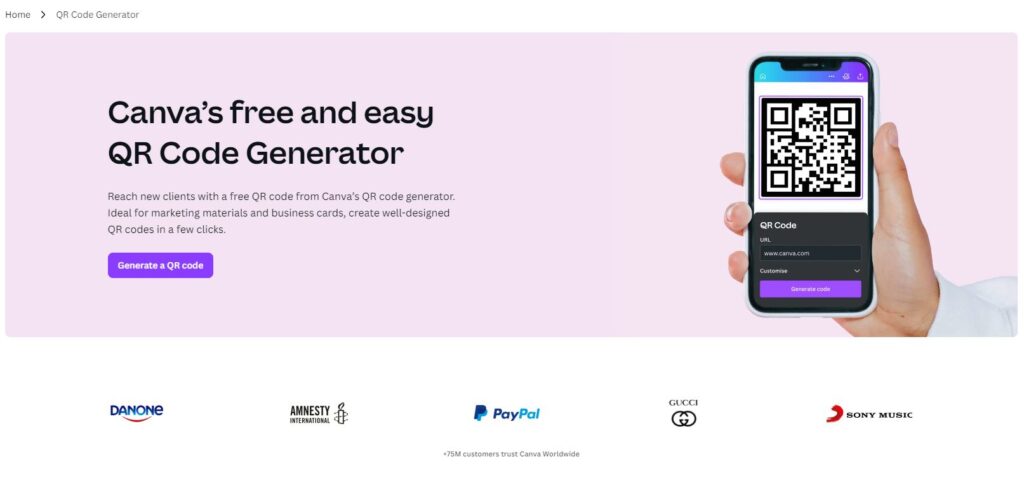
We personally used Canva to create our free QR code that we added to our wedding invitation, it was really easy to create and for our guests to use!
Step 2: Determine the Information to Include
Decide what you want the QR code to do. Common uses include directing guests to your wedding website, RSVP page, or a map of the venue. Ensure the URL or information you want to link is finalized.
Step 3: Create the QR Code
Enter the chosen URL or information into the QR code generator. Customize the design by choosing colors that match your wedding theme and adding a logo or image if desired. Ensure the contrast is high enough for easy scanning.
Step 4: Test the QR Code
Before finalizing, test the QR code with multiple devices to ensure it works correctly. Simply scan the code using a smartphone camera or QR code scanner app to verify it directs to the right place.
Step 5: Download and Insert the QR Code
Once tested, download the QR code in a high-resolution format. Insert it into your digital wedding invitation design using design software like Canva or Adobe Spark. Place it in a prominent but unobtrusive spot on your invitation.
Step 6: Provide Instructions
Include a brief note on your invitation explaining how guests can use the QR code. For example, “Scan this code with your smartphone camera to RSVP or get more details about our special day.”
By following these steps, you can seamlessly integrate a QR code into your wedding invitations, making it easy for guests to access important information and respond promptly.
Our Conclusion
Crafting your own wedding invitations can be a rewarding experience, allowing you to add a personal touch to every detail. By understanding the various aspects involved—from sizing and budgeting to design and digital options—you’ll be well-equipped to create invitations that reflect your unique love story. Dive into the resources provided and start designing the perfect invitations for your big day.

